
Well, beings that I am embarking on the wonderful world of freelance makeup artistry and design I have been very diligent in my pursuit of the ever so lovely and quote frustrating false eyelash application!!! Whew, it is trying at times, but once you apply oh I don't know
90-100 sets.....it's a breeeeeze!! lol

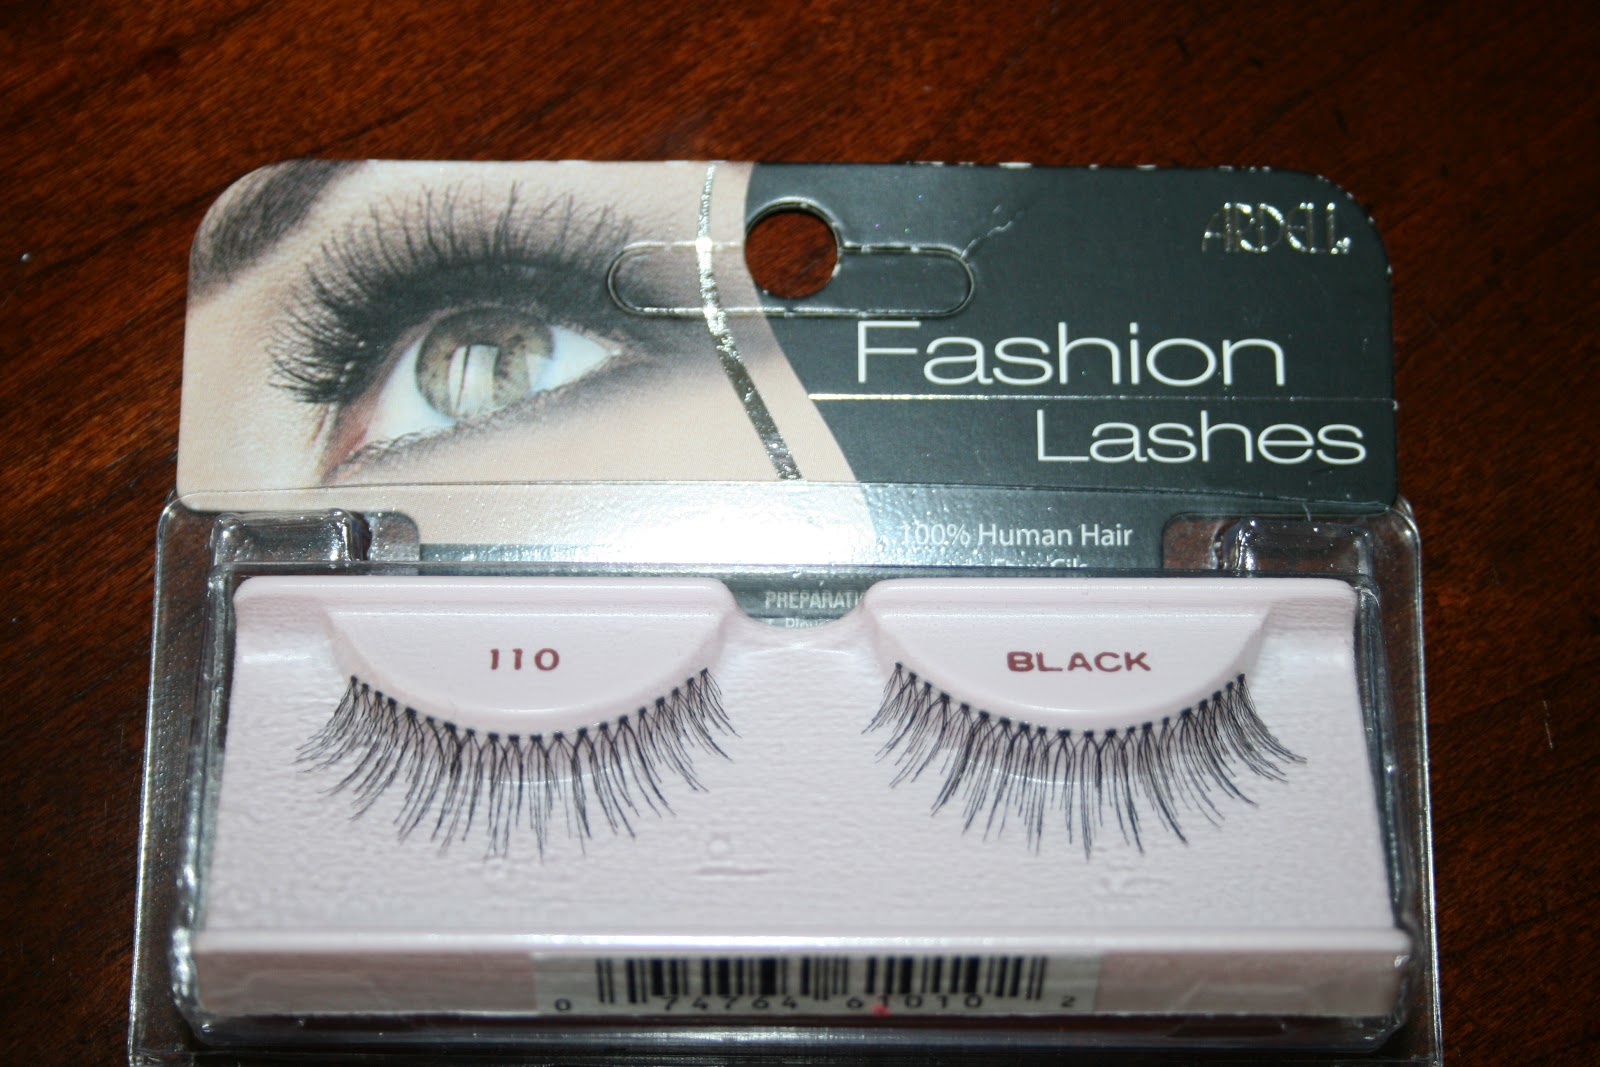 My favorite two brands that I have found work amazingly well are MAC and Ardell Lashes! They both offer so many different looks and styles to match your mood or your occasion or your eye shape! Ardell's website actually gives you categories such as "Style", "Eyeshape", and "Occasion" and gives you which lash strip set works for you....so cool!! The MAC #7 natural length seems to be a very popular lash for them, and their website offers a awesome description for each lash strip set but they are quite a bit more in the ole wallet. The Ardell lash strips usually run about $3.50 - $4.00 a pair and the MAC lash strips run at $17.00 a pair, so their is quote a bit of difference in cost. And I have found that using a no name cheap pair of lashes is about like anything else, you totally get what you pay for......the cheap pairs can tear or rip when you are getting them out of the package and the hair seems to go in crazy directions and not to mention they tend to "come up" on either end because they do bend well along with the natural curve of your eye. So, spend the extra money on these babies, you will not go wrong, and I think $3.50 is a heck of a price for an awesome lash and I believe along with the MAC lashes, they are made from real hair. If you are very careful when removing your lashes and take proper care of them, you can get several wears out of them.....WHAT A BARGAIN!!!!!
- The first step in good application is to measure the length of the lash to make sure you get a proper fit, to do this remove your lash strip from its pack, BE SURE NOT TO GRAB AND PULL THE STRIP FROM THE ENDS.....take your finger and rub from the strip down the lashes and gently pursued them to unstick from the plastic.

- NEXT take your lash strip and place them above your lashes at the lash line, they have a little bit of glue on them from the packaging which is awesome because it helps you stick them on as to get a visual of the lashes, and to alloy you to measure the fit! Now if your lashes are too long, I trim them from the INSIDE corner not the outer corner because if I'm going to loose any, I would rather it be from the inside corner not the outside lash area....agree?
- NEXT take the lash strip and curve it around your pinky finger and let them sit for just 20 seconds or so, what this does is help them make a natural curve to match our eye shape and helps in the corners not lifting up after you have applied the lashes. This is such an important step in making your application that much easier...SO DO IT! he he

- NEXT step is the application of the glue, the ABSOLUTE BEST glue is the Duo brand, please do not use the glue that comes in some packs! The Duo eyelash adhesive glue comes in white and dark, and both dry clear so no worries.....and just a side note......they both stink like, well...........like butt, sorry but they do! Eeeew I know!

- NEXT take your lash strip and hold it by the lashes, above the glue tube. Squeeze the tube gently so that a small amount of glue pops out, now what I do is apply the glue by not holding the glue tube OVER the lashes, I hold it under the lashes so that I don't get too much glue out on the lashes and try to get it off and the glue ends up going all over the lashes themselves which is a mess, so this way I have more control over how much glue I use.

O.k. so I got you this far! We will continue with part 2 later because I would like to do part 2 as a video!!! So ....STAY TUNED & KEEP AN EYE OUT!!!! MUAH!!
I'm excited you're learning this cause they will be *Awesome* on the models we're working with next month!!
ReplyDelete